

The Best Products

The process of making plush toys
Design drawings.
Firstly, according to the design drawings of the toy, cut out the corresponding shapes on hard cardboard, and then mark the front and back of the paper on the back of the fabric, leaving approximately 0.5-1cm of blank space on the fabric. Do not cut directly along the line.
Cut the fabric.
Use different cutting methods, such as hot cutting, cold cutting, or manual cutting, and choose the appropriate cutting method based on the characteristics of the toy fabric. Hot cutting is suitable for thick chemical fiber fabrics, while cold cutting is suitable for multi-layer cutting of thin fabrics. When cutting, attention should be paid to the direction, color difference, and number of pieces to ensure scientific layout to save fabric and avoid waste.
Suture.
Sew the cut fabric together to form the basic shape of the toy. Use an industrial high-speed flat sewing machine to adjust the needle size for different sizes of toy pieces, paying attention to the alignment of stitching size and marking points to avoid deformation or asymmetry.
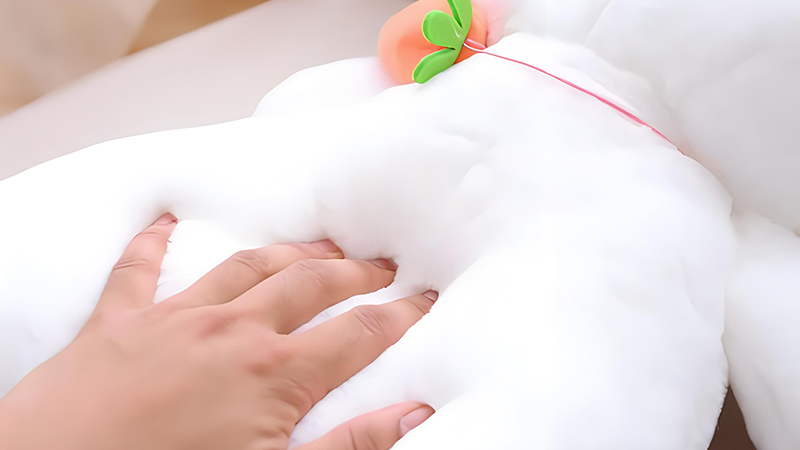
Fill and sew the opening.
During the stitching process, leave an opening for flipping and filling the cotton. Use hidden needle technique to sew the opening together, ensuring even cotton filling. Add facial features and decorations. For small parts such as eyes and nose, hot melt adhesive can be used to stick them, or sewing machines can be used to sew them in appropriate positions. For large plush toys, it may be necessary to use accessories such as hanging ropes.
Organize and decorate.
After completing the stitching, organize the shape of the toy to ensure a neat appearance. For small plush toys, cosmetics such as powder blusher can be used for decoration.
Previous: What is a plush toy?